目录

威联通:升级 Code Server 编辑器 3.x

目录

Code Server 3.x 版本发布也有几周了,最新版本 3.1.1 看起来应该可用度比较高了,于是就打算升级了。

根据作者发布的注意事项来看,3.x 与 2.x 最大的不同就是不再打包成单文件了。

信息

We’re still working on arm64 builds (Travis appears to swallow the output and then terminates the build because there’s no output).

V3 has some significant changes that will need to be accounted for in your scripts.

  • We use semantic versioning now. The VS Code version will no longer be included in the tag or the release file name.

  • Releases are now loose files and are no longer packed into a single binary so be sure to move the entire directory. Inside the directory is an entry script code-server that will launch with the bundled Node.

  • If you want to do something like put the entry script in /usr/bin and the code-server files in /usr/lib we recommend you use a symlink: ln -s /usr/lib/code-server/code-server /usr/bin/code-server.

  • You can also run code-server with your own Node binary instead of the bundled one: node /path/to/code-server/out/node/entry.js.

  • V2 cannot update to V3 automatically due to the structural changes so you’ll need to manually download and restart code-server in order to update.

  • If you want to build or develop please check out https://github.com/cdr/code-server/blob/3.0.0/doc/CONTRIBUTING.md as the steps have changed.

首先停止运行 2.x 版本进程,删掉开机脚本和计划任务。

然后把最新的 release 下载下来解压到 NAS 上运行:

1
2
3
4
5
6
7
8
export SERVICE_URL=https://marketplace.visualstudio.com/_apis/public/gallery
export ITEM_URL=https://marketplace.visualstudio.com/items
# 以上两行是将编辑器的商店地址替换成微软官方的,享有比项目商店更多的插件
./code-server --auth none --host <nas-ip or host name> --cert <cert> --cert-key <cert key> --user-data-dir <user data directory> --extensions-dir <extensions directory> &
# 3.x版本需要指定 host,运行在 localhost 无法通过局域网或互联网访问
# --user-data-dir 和 --extensions-dir 是将 2.x 的用户数据和插件导入,不需要的话可以省略
# 不需要 ssl 部署的话,证书选项也可以关闭
# 程序默认运行在 8080 端口,可以通过 --port 选项指定为其他端口

另存为 shell 文件后,将它加入开机脚本和计划任务,重启 NAS 就可以了。

除了使用开机脚本和计划任务之外,也可以选择将项目打包成威联通可以直接安装的 qpkg 程序包。

首先从 App Center 手动安装开发工具 QDK,项目地址:https://github.com/qnap-dev/QDK 安装包:https://download.qnap.com/QPKG/QDK/QDK_2.3.10.zip

安装完成以后,SSH 连接到 NAS,测试安装是否成功:

1
2
qbuild -V
# 返回信息:qbuild 2.3.10 表示安装成功

创建项目,名字随便取,比如 codeserver:

1
qbuild --create-env codeserver

查看 codeserver 目录文件结果如下:

 1
 2
 3
 4
 5
 6
 7
 8
 9
10
11
12
13
14
15
16
│ build_sign.csv
│ package_routines
│ qpkg.cfg
│
├─arm-x19
├─arm-x31
├─arm-x41
├─arm_64
├─config
├─icons
├─shared
│ codeserver.sh
│
├─x86
├─x86_64
└─x86_ce53xx

arm 以及 x86 开头的目录是存放相应架构的文件,shared 目录是存放所有架构通用的文件,如果不需要同时开发跨架构的程序,可以直接删除所有架构对应的目录:

1
2
cd codeserver
rm -rf ./arm* & rm -rf ./x86* & rm -rf ./config
警告
使用 rm -rf 删除命令时注意路径无误,避免删除错误导致系统崩坏

修改配置信息 qpkg.cfg:

1
2
3
4
5
6
7
QPKG_DISPLAY_NAME="Code Server"
QPKG_SERVICE_PORT="8080"
QPKG_WEBUI="/"
QPKG_WEB_PORT="8080"
QPKG_WEB_SSL_PORT="8080"
QPKG_VOLUME_SELECT="3"
QPKG_VISIBLE="2"

端口可以改成你需要让程序运行的端口,前面提到过默认是 8080,不需要配置 ssl 证书的话,QPKG_WEB_SSL_PORT 不修改,其他的设置保持默认即可。

解压最新 release 的 code-server,目录结构大致如下:

 1
 2
 3
 4
 5
 6
 7
 8
 9
10
11
12
├─dist
├─lib
├─node_modules
├─out
├─src
├─code-server
├─LICENSE.txt
├─node
├─package.json
├─README.md
├─ThirdPartyNotices.txt
└─yarn.lock

将所有文件复制到项目新建 /shared/bin/ 目录下:

1
2
mkdir ./shared/bin
cp -rf <code-server目录绝对路径>/* ./shared/bin

配置初始化脚本,其他的代码保持默认即可:

1
vi ./shared/codeserver.sh
点击查看代码
 1
 2
 3
 4
 5
 6
 7
 8
 9
10
11
12
13
14
15
16
17
18
19
20
21
22
23
24
25
26
27
28
29
30
31
32
33
case "$1" in
  start)
    ENABLED=$(/sbin/getcfg $QPKG_NAME Enable -u -d FALSE -f $CONF)
    if [ "$ENABLED" != "TRUE" ]; then
        echo "$QPKG_NAME is disabled."
        exit 1
    fi

    export SERVICE_URL=https://marketplace.visualstudio.com/_apis/public/gallery
    export ITEM_URL=https://marketplace.visualstudio.com/items

    cd $QPKG_ROOT/bin
    ./code-server --host <nas-ip or host name> --auth none &

    ;;

  stop)

    killall -9 code-server

    ;;

  restart)
    $0 stop
    $0 start
    ;;

  *)
    echo "Usage: $0 {start|stop|restart}"
    exit 1
esac

exit 0
注意
前面 qpkg.cfg 有修改过端口的话,这里注意修改为同样的端口

如果还需要自定义图标的话,设计 3 个图标文件存放到 icons 目录:

1
2
3
codeserver.gif 64×64 px 彩色
codeserver_80.gif 80×80 px 彩色
codeserver_gray.gif 64×64 px 灰色 App Center 未启用状态时显示

在项目根目录运行下面的命令构建安装包,完成后从 App Center 手动安装即可:

1
qbuild

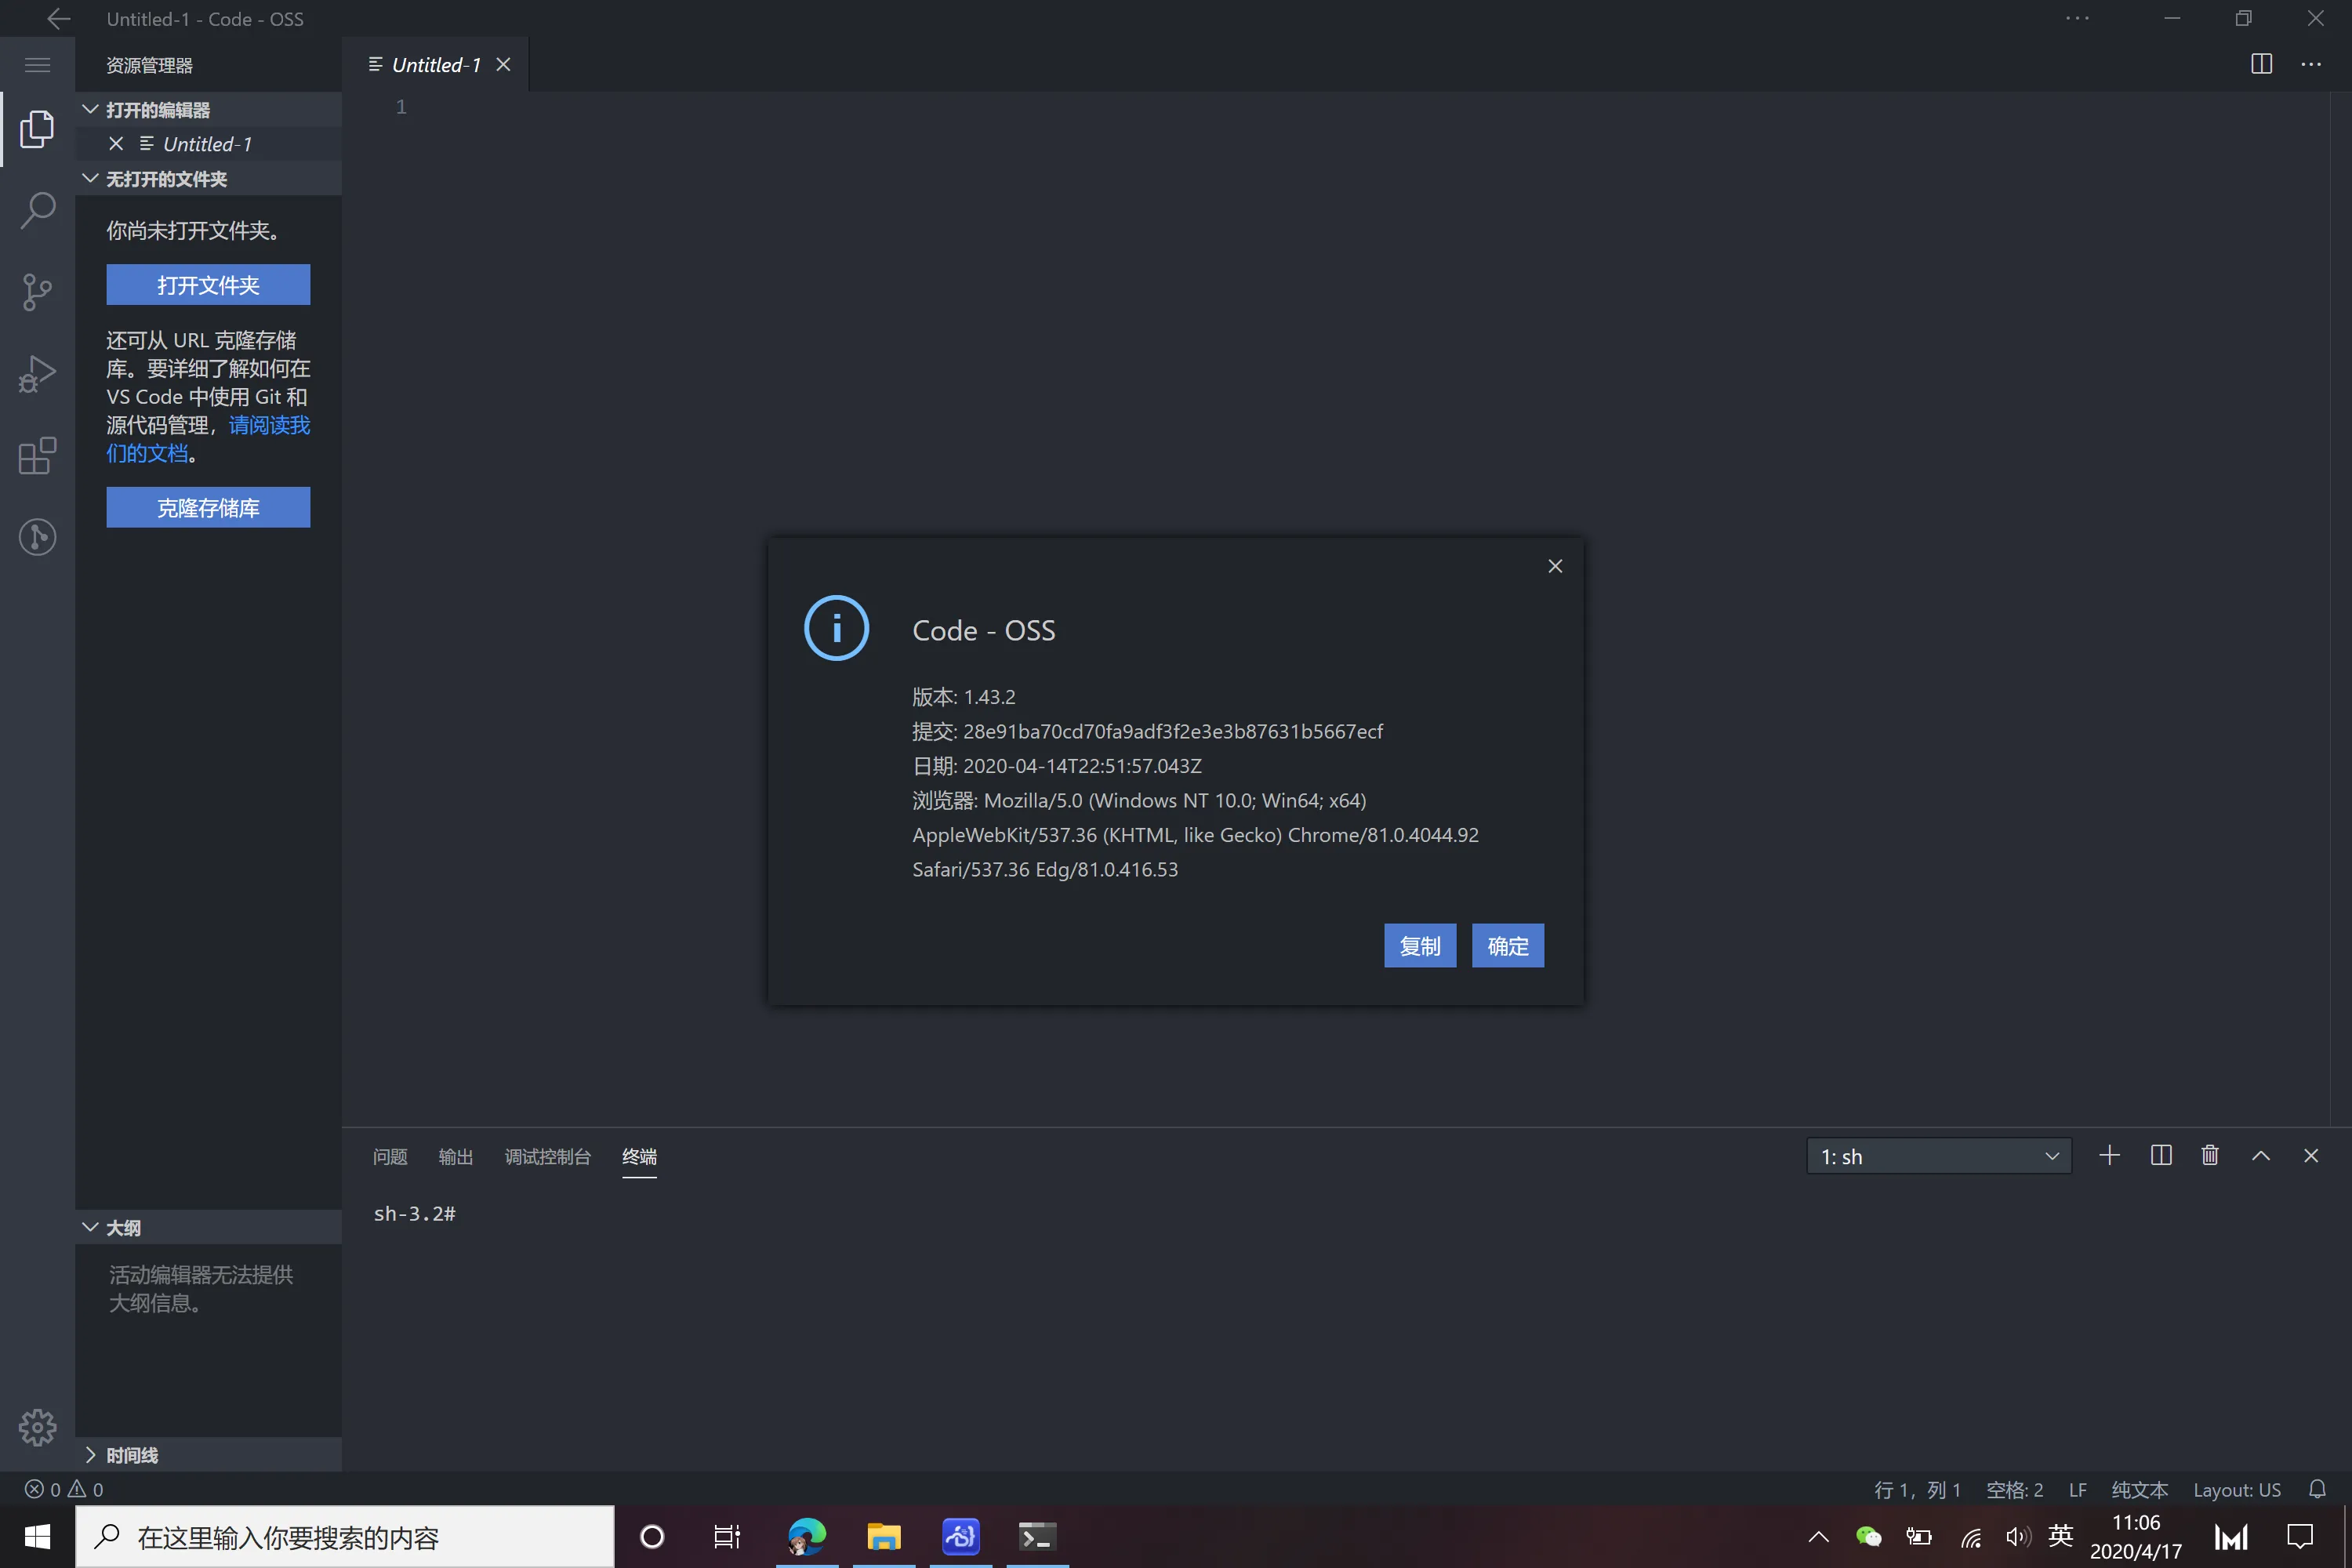
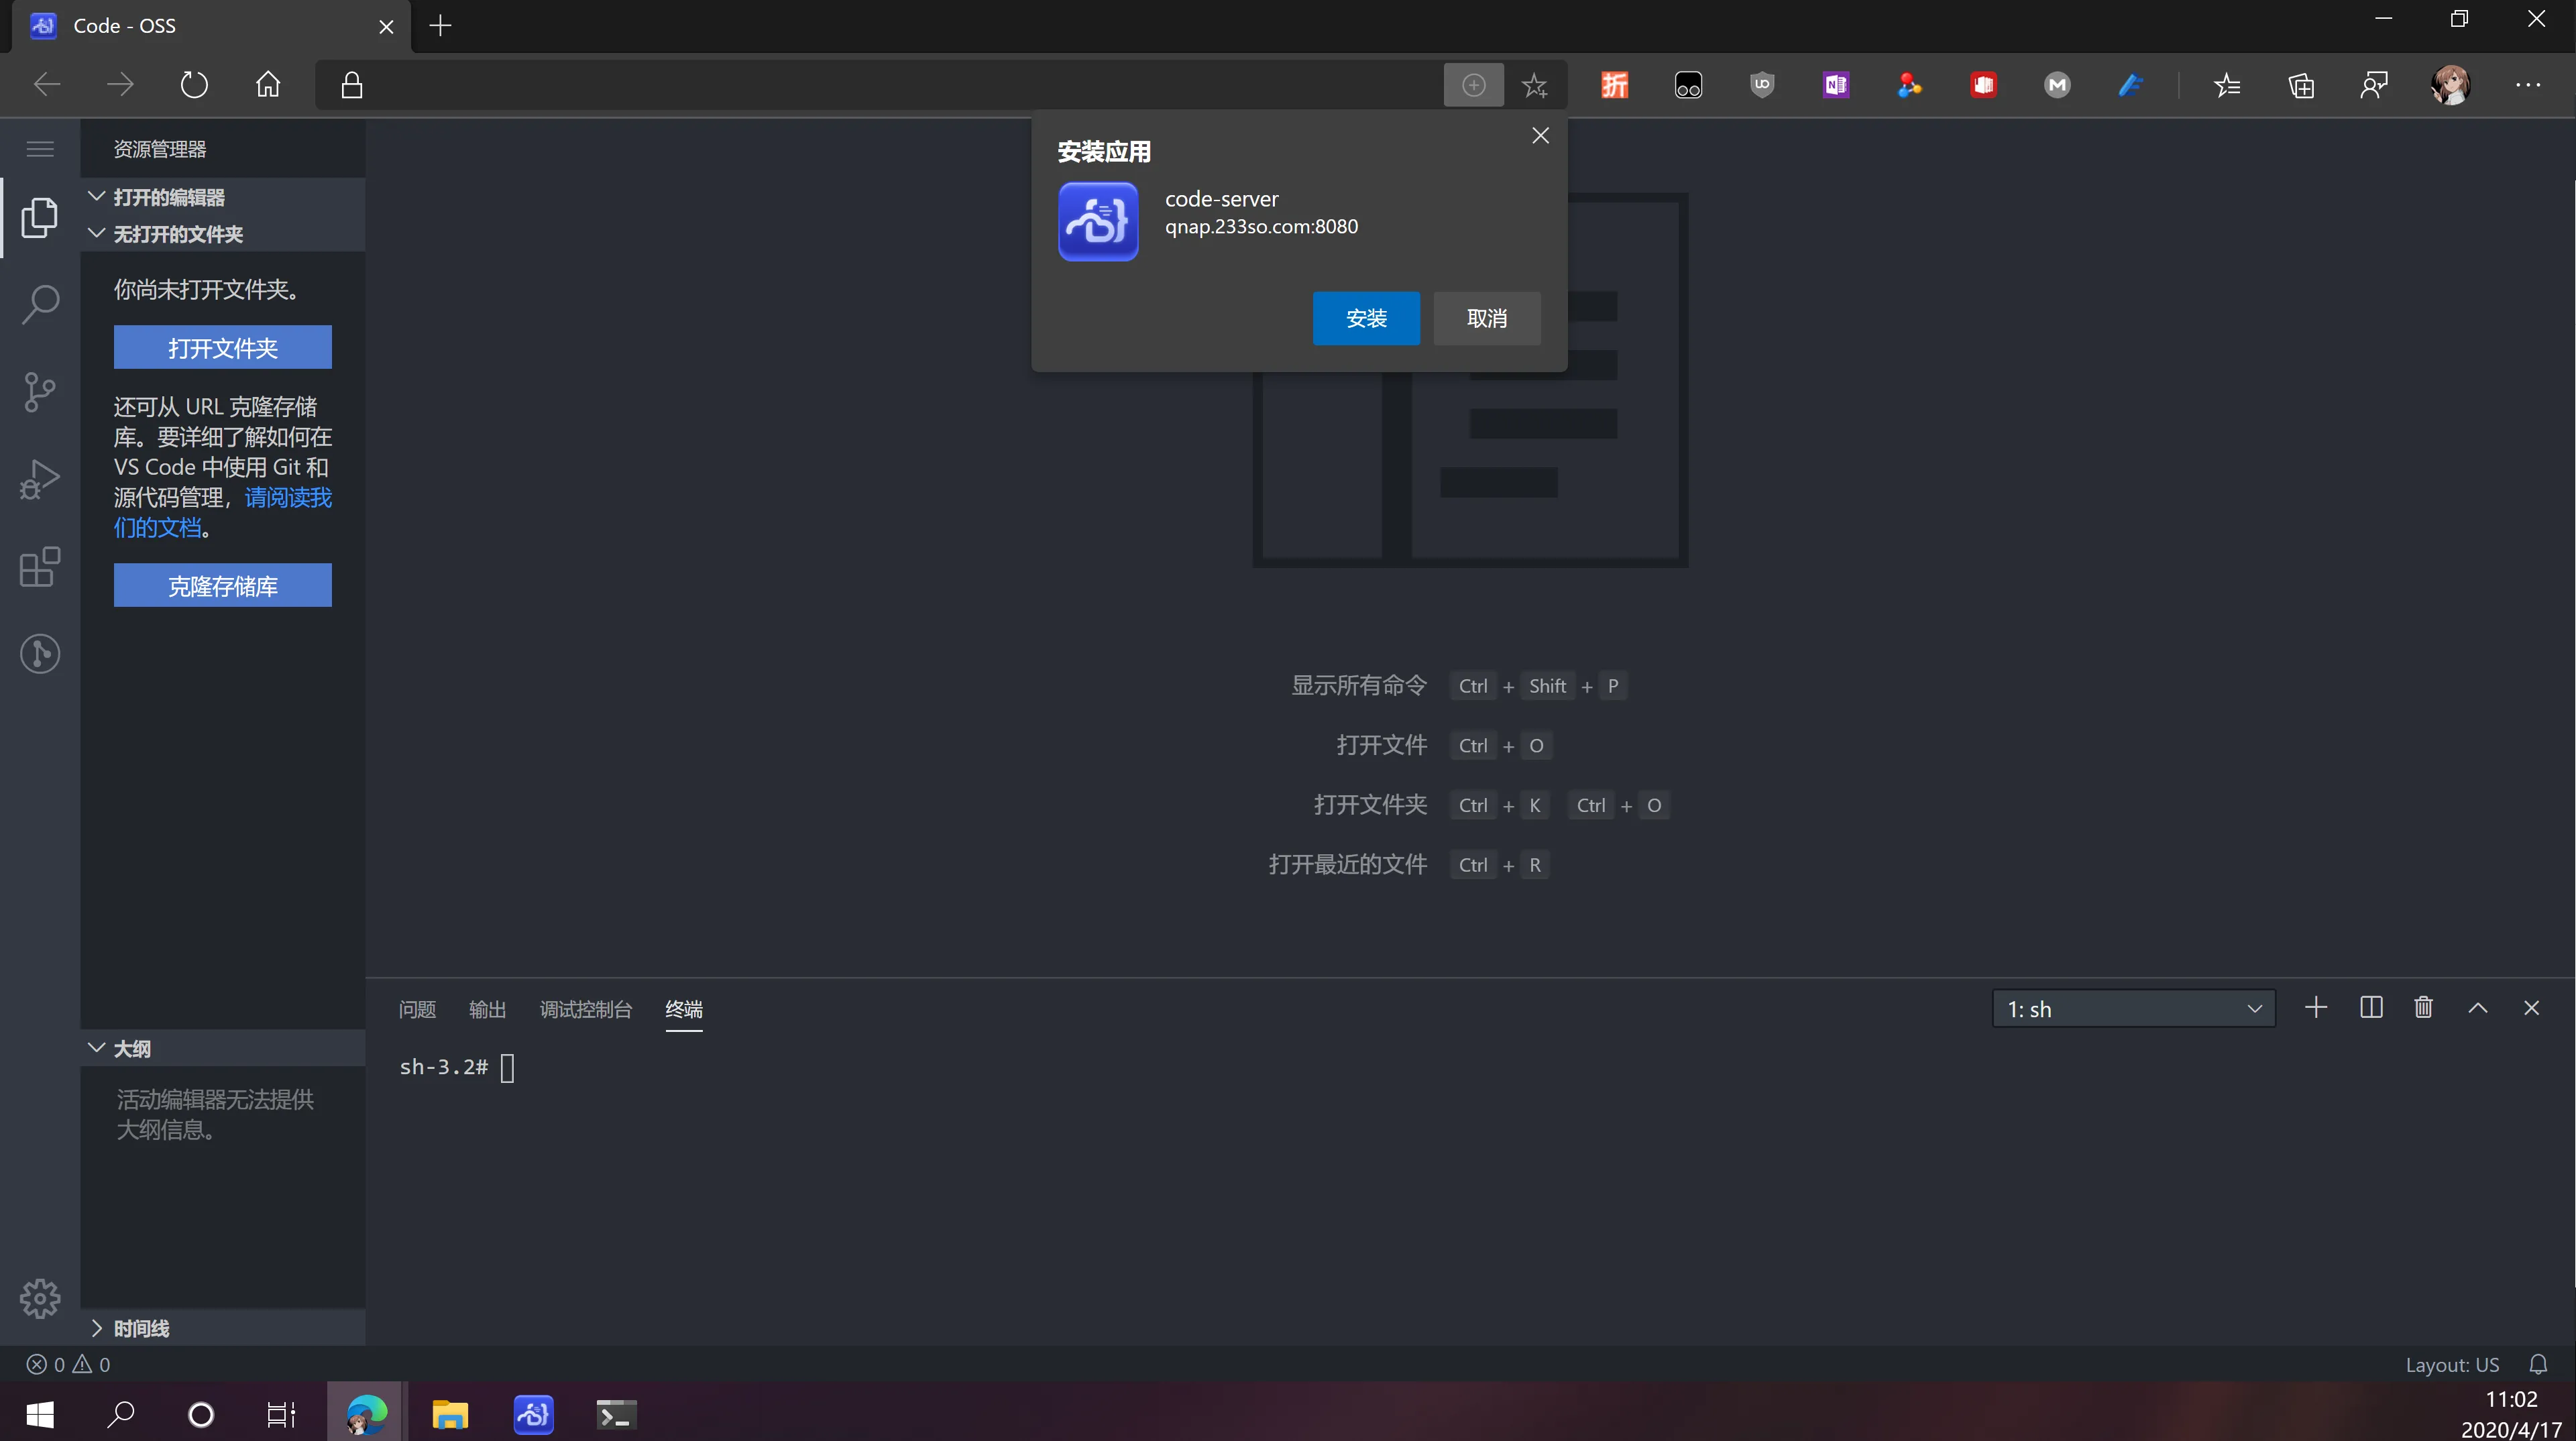
以 Web App 形式运行从外观上看和本地的 vs code 也没什么区别了
屏幕截图(9).webp

企业微信截图_20200417110813.webp